Door Fitting & Installation Guide: Step-by-Step with Measurements
Complete door fitting guide with step-by-step installation process. Learn hinge positions, gap tolerances, tools required & common mistakes to avoid.
Quick Answer
Door fitting refers to the complete process of installing a door shutter into its frame, including hinge placement, gap adjustment, and hardware installation. Proper door fitting requires a minimum 2-3mm gap on sides and top, 8-12mm bottom clearance, and hinges placed at specific positions from the door edges.
In simple terms, door fitting is the technical process that connects your door shutter to the frame using hinges, ensuring it opens and closes smoothly without rubbing, sticking, or leaving excessive gaps. A well-fitted door should swing freely, close flush against the door stop, and have uniform gaps all around for seasonal wood expansion. In India's varying humidity conditions—from monsoon moisture to dry winters—proper gap tolerances become critical for long-lasting door performance.
- Standard door height in India: 7 feet (2134mm) for residential doors
- Recommended side and top gaps: 2-3mm for smooth operation
- Bottom clearance: 8-12mm (more if carpet or tiles are planned)
- Standard hinge positions: Top hinge 125-175mm from top, bottom hinge 225-275mm from bottom
- Door handle height: 1050 mm (3.5 ft) from finished floor level
- Number of hinges: 2 for light doors, 3 for standard and heavy doors
What Exactly is Door Fitting and Installation?
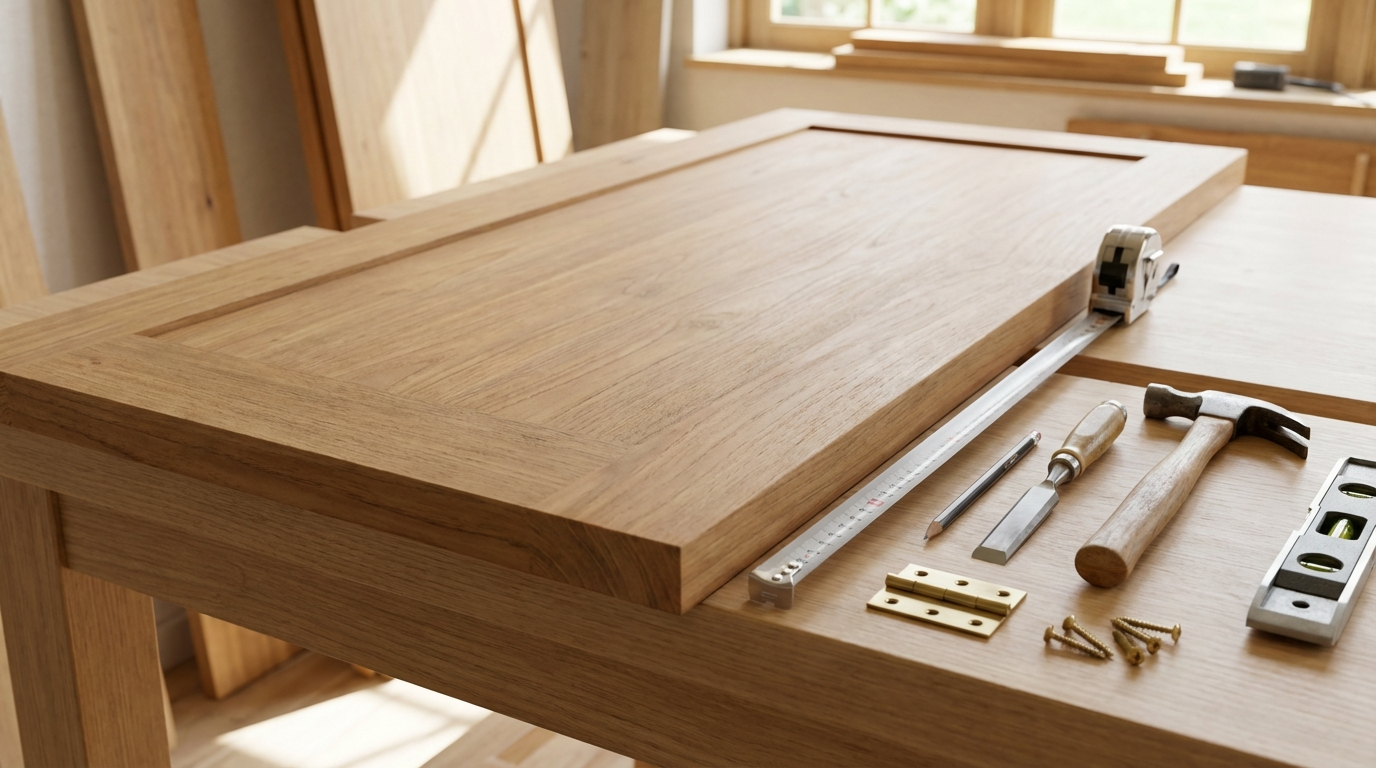
Door fitting is the skilled process of mounting a door shutter into its frame to create a functional entry point. Even the most beautiful wooden doors design for home can lose their charm if they are not fitted properly. Poor door installation not only affects the appearance but also causes functional problems like gaps, squeaks, or uneven closing.
The process involves several interconnected steps: preparing the door frame, marking hinge positions, creating mortises (recesses) for hinges, mounting the door, adjusting gaps, and installing hardware like handles and locks. Each step must be executed with precision because even small errors compound into significant problems over time.
According to duroboil.com's material experts, door fitting quality directly impacts the longevity of your door investment. A poorly fitted door not only looks unprofessional but also creates security vulnerabilities, allows dust and insects to enter, and can damage both the door and frame through constant friction.
Why Proper Door Fitting Matters in Indian Homes
India's climate presents unique challenges for door installations. High humidity during monsoons causes wood to expand, while dry winters lead to shrinkage. Without proper gap tolerances, doors fitted tight during dry season will jam during monsoons, and those fitted loose will develop excessive gaps in winter.
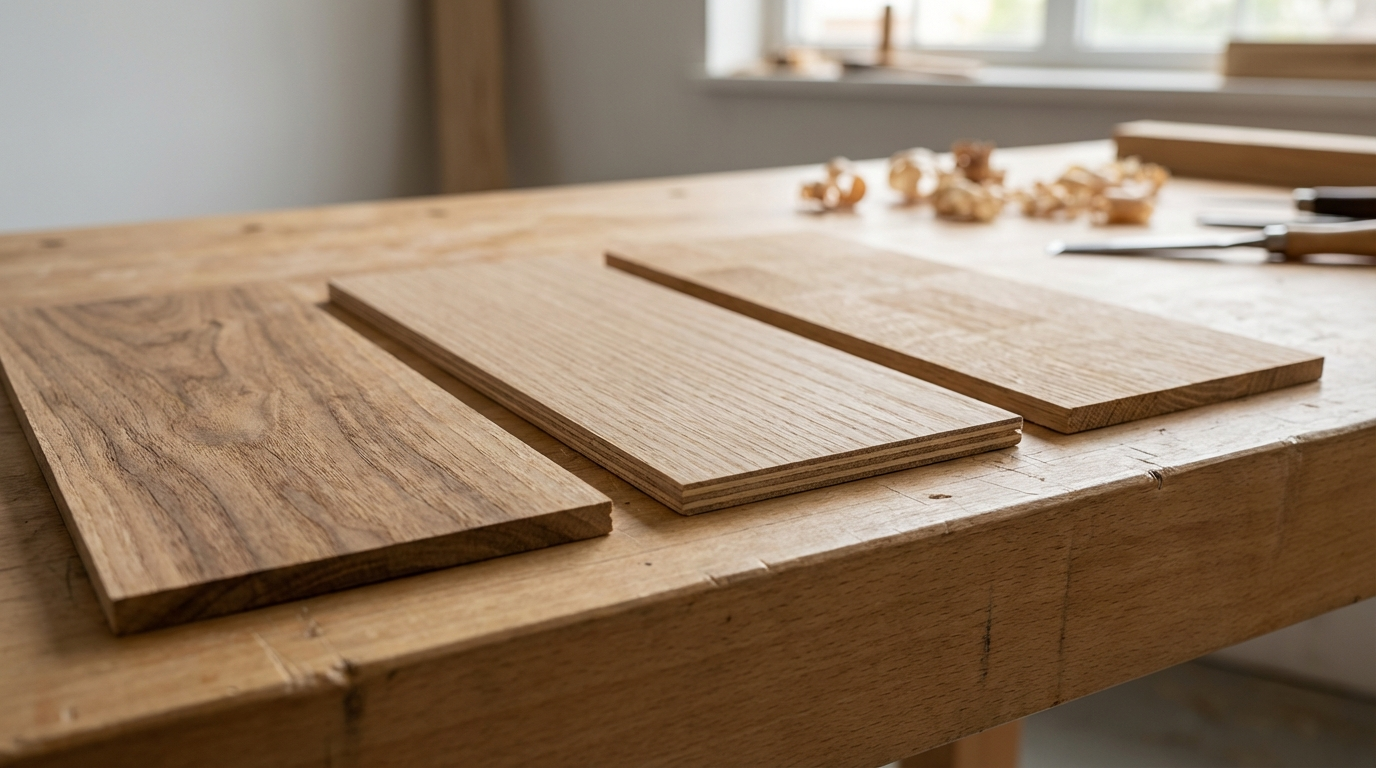
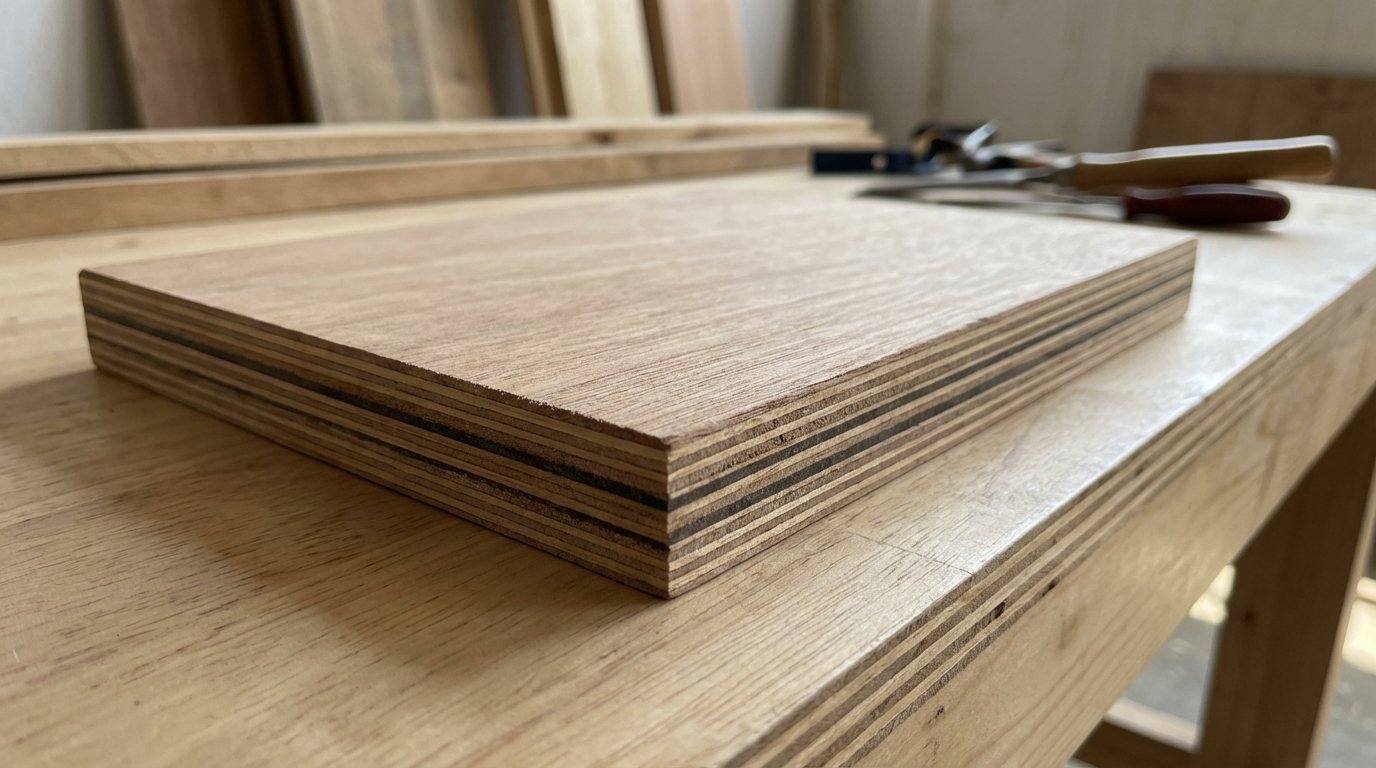
Additionally, most Indian homes use flush doors with block board or particle board cores. These doors are more sensitive to moisture variations than solid wood doors, making proper installation even more critical for their longevity.
Tools Required for Door Fitting
Having the right tools is essential for professional-quality door installation. Installing a door is a task that requires precision, patience, and the right tools. For professional woodworkers, having the correct equipment can make a huge difference in efficiency, accuracy, and the overall outcome of a project.
| Tool Category | Essential Tools | Purpose | Approximate Price Range (₹) |
|---|---|---|---|
| Measuring | Measuring tape (5m) | All measurements | 150-400 |
| Measuring | Spirit level (2 ft) | Checking plumb and level | 300-800 |
| Measuring | Combination square | 90° angle marking | 200-600 |
| Marking | Pencil and marking gauge | Precise marking | 50-200 |
| Cutting | Wood chisel set (6mm, 12mm, 25mm) | Mortise cutting | 400-1500 |
| Cutting | Mallet | Chisel work | 150-400 |
| Cutting | Hand plane | Edge trimming | 500-2000 |
| Drilling | Power drill | Screw holes, lock bore | 2000-5000 |
| Drilling | Hole saw (50-54mm) | Lock cylinder bore | 300-800 |
| Fastening | Screwdriver set | Screw installation | 200-600 |
| Support | Wooden wedges/shims | Temporary support, gap adjustment | 50-150 |
| Support | Door lifter or wooden blocks | Positioning door | 100-500 |
Recommended Tool Checklist for Carpenters
- Basic tools: Measuring tape, spirit level, pencil, combination square, hammer, screwdriver
- Cutting tools: Compass saw, coping saw, cross-cut saw, hand saw, firmer chisel, mortise chisel, paring chisel
- Boring tools: Auger, auger bit, center bit, rose countersunk bit, screwdriver bit, brace, bradawl, gimlet
- Leveling tools: Bead plane, jack plane, rebate plane
- Additional tools: Cramp, nail punch, C-clamp, carpenters T-clamp, oil stone, pincers, pliers, screwdriver, plumb rule
Standard Door Sizes in India
The standard door height in India is 7 ft (2134 mm), with widths ranging from 2.25 ft to 3.5 ft, depending on the room. Understanding these standard dimensions is essential before starting any door fitting project.
| Door Type | Width (ft) | Width (mm) | Height (ft) | Height (mm) | Thickness (mm) |
|---|---|---|---|---|---|
| Main entrance (single) | 3.0-3.5 | 900-1050 | 7.0 | 2134 | 32-35 |
| Main entrance (double) | 5.0-6.0 | 1500-1800 | 7.0 | 2134 | 32-35 |
| Bedroom | 2.5-3.0 | 750-900 | 7.0 | 2134 | 30-32 |
| Bathroom | 2.0-2.5 | 600-750 | 7.0 | 2134 | 30-32 |
| Kitchen | 2.5-3.0 | 750-900 | 7.0 | 2134 | 30-32 |
| Pooja room | 2.5-3.0 | 750-900 | 7.0 | 2134 | 30-32 |
The standard door size for residential buildings is 7×3 ft for single doors and 7×5 to 7×6 ft for double doors, while commercial doors are 7.5×3.5 ft (single) and 7.5×6 to 7.5×7 ft (double).
Step-by-Step Door Installation Process
Step 1: Measure the Door Opening and Frame
Accurate measurement is the foundation of successful door fitting. When measuring for a new door, it's important to take precise measurements to ensure a perfect fit. Measure the width of the door frame from one side to the other at the top, middle, and bottom. Use the smallest measurement.
Measurement procedure:
- Measure frame width at three points: top, middle, and bottom
- Measure frame height on both sides (left and right)
- Note the smallest width and height measurements
- Check frame for square using diagonal measurements (both diagonals should be equal)
- Use spirit level to verify frame is plumb (vertical) and level (horizontal)
Have 2-3 mm of space on the sides so that it can move easily. Therefore, your door shutter should be cut to the frame's smallest measurement minus 4-6mm (total) for side gaps.
Step 2: Prepare the Door Shutter
Before fitting, the door shutter needs preparation:
- Verify door dimensions: Door should be 4-6mm narrower and shorter than frame opening
- Check for warping: Place door on flat surface and check all corners touch
- Sand edges: Lightly sand all edges to remove splinters
- Apply primer: Primer, putty & first coat of the oil paint should be completed before fixing any fittings on the shutter.
- Seal all edges: Unsealed edges can absorb moisture, warp, or discolour over time. Seal all edges of the door, including the top and bottom, with a suitable wood finish, primer, paint, or varnish.
Step 3: Mark Hinge Positions
Correct hinge placement is critical for door function and longevity. Standard door hinge placement guidelines include the following: Top Hinge Placement: Place the top hinge 5 to 7 inches from the top edge of the door. This hinge takes on the majority of the door's weight, and positioning it within this range ensures stability and minimizes stress on the door frame. Bottom Hinge Placement: The bottom hinge should be placed 10 to 11 inches from the bottom of the door. This hinge helps stabilize the door and prevents it from swinging out of alignment.
| Hinge Position | Distance from Edge | In mm (approx.) | Measurement Reference |
|---|---|---|---|
| Top hinge | 5-7 inches from top | 125-175mm | Measured to top of hinge |
| Bottom hinge | 10-11 inches from bottom | 250-275mm | Measured to bottom of hinge |
| Middle hinge (if used) | Centered between top and bottom | Variable | Equidistant from both hinges |
Standard practice is to fit three hinges on most doors. The top hinge should sit around 175mm down from the top, the bottom hinge around 250mm up from the floor, and the middle one evenly between them.
How Many Hinges Do You Need?
Generally speaking, you want to install one hinge for around every 30" of door height. Doors up to 60" tall will need two hinges while those between 60" and 90" will require three hinges.
- Light hollow-core doors (under 25kg): 2 hinges minimum
- Standard flush doors (25-35kg): 3 hinges recommended
- Heavy solid wood doors (over 35kg): 3 hinges mandatory, sometimes 4
- Main entrance doors: Always 3 hinges minimum
Step 4: Cut Hinge Mortises (Recesses)
The hinge mortise is the shallow recess cut into both the door edge and frame to allow the hinge to sit flush. Duroboil.com recommends this careful approach:
- Position the hinge: Hold hinge at marked position
- Trace outline: Mark around the hinge with a sharp pencil
- Score the outline: Use a utility knife to cut along the marked lines (prevents wood chipping)
- Mark depth: The mortise depth equals the hinge leaf thickness (typically 2-3mm)
- Remove wood: Use a sharp chisel with mallet to carefully remove wood within the marked area
- Check fit: Hinge should sit flush with door surface—not proud, not recessed too deep
- Repeat on frame: Transfer exact positions to frame and create matching mortises
Mark hinge positions carefully and ensure they are evenly spaced. Use a chisel to create mortises that allow the hinges to sit flush with the door and frame. Secure hinges with screws that are long enough to anchor them firmly into the frame.
Step 5: Mount Hinges and Hang the Door
- Attach hinges to door: Secure each hinge to the door with two screws initially
- Position door in frame: Use wooden wedges under the door to achieve correct height position
- Align hinges: Match door hinges to frame mortises
- Insert hinge pins: For loose-pin hinges, insert pins after alignment
- Secure to frame: Drive screws into frame (use longer screws—at least 50mm—for better grip)
- Check operation: Test door swing before fully tightening all screws
- Final tightening: Once satisfied with operation, tighten all screws
All hinges & other door fittings should be fixed with screws. The hammering of nails should be avoided.
Step 6: Adjust Gap Tolerances
Proper gaps are essential for door function. A gap of 10mm between two doors that meet in the middle is completely unacceptable, the ideal gap should be 3mm. A correctly hung door, or pair of doors, should have parallel gaps all around of 3mm.
| Gap Location | Recommended Gap | Maximum Acceptable | Purpose |
|---|---|---|---|
| Top (head) | 2-3mm | 5mm | Allows for wood expansion |
| Hinge side | 2-3mm | 5mm | Prevents binding during swing |
| Lock side | 2-3mm | 5mm | Allows latch operation |
| Bottom (floor clearance) | 8-12mm | 15mm | Clears floor, carpet, threshold |
At the top and sides, leave allowance of a span of 3-5 mm to slide easily. Apply 8-10 mm to the bottom to allow a floor clearance (or, even more, should you want to use a rug).
Step 7: Install Lock and Handle Hardware
The standard door height in India is 7 ft (2134 mm), residential door width ranges from 2.5–3.5 ft, door thickness is 30–35 mm (flush) or 40–45 mm (solid wood), and handle height should be 1050 mm from the floor.
Lock and handle installation measurements:
- Handle/lock height: 1000-1050mm from finished floor (center of handle)
- Handle backset: 60mm from door edge for most Indian locks
- Deadbolt position: 150-300mm above handle
- Tower bolt (top): Upper corner of door, 50-75mm from top edge
- Tower bolt (bottom): Lower corner, 75-100mm from bottom edge
Handles are of various sizes, e.g., 10cm, 12cm, 15cm, 20cm (4″,5″,6″,8″) etc. Generally, decorative handles are fixed to the main door from outside, with machine screws. The D-type handle is fitted from the inside to the main door.
Hinge Size Selection Guide
In most cases, standard residential door hinges have square edges and are sized in increments of ½". In other words, their size range is in measurements like 3", 3 ½", 4", etc. Most residential doors need a 3 ½" x 3 ½" hinge, although larger ones, especially front doors, require a 4" x 4" hinge.
| Door Type | Door Thickness | Door Weight | Recommended Hinge Size |
|---|---|---|---|
| Interior flush door | 30-32mm | Under 25kg | 75mm (3") or 87mm (3.5") |
| Bedroom/kitchen door | 32mm | 25-35kg | 87mm (3.5") x 87mm |
| Main entrance door | 32-35mm | 35-50kg | 100mm (4") x 100mm |
| Heavy solid wood door | 40-45mm | Over 50kg | 125mm (5") or heavy-duty ball bearing |
The size of the hinge is determined by the thickness and weight of the door. For standard interior doors, 3.5-inch hinges are usually sufficient, while heavier exterior doors will require 4-inch or larger hinges.
Common Door Fitting Mistakes to Avoid
One of the most common mistakes in door installation is selecting the wrong door size. When the door is larger or smaller than the frame, then regardless of how good a carpenter may be he still will never be able to fit the door. This may leave big spaces, jagged edges and even locking problems.
Mistake 1: Incorrect Measurements
Measurements are the backbone of any door installation project. Doors that don't fit perfectly can leave gaps, cause drafts, and make the door difficult to open or close.
How to avoid: Always measure at three points (top, middle, bottom) and use the smallest measurement. Measure twice before cutting.
Mistake 2: Frame Not Level or Plumb
Although you may have the right sized door, a skewed or fragile frame will wreak havoc. Poorly aligned frames are one of the biggest reasons for main door fitting issues. When the frame tilts with the door, it will either rub on the edges, produce squeaky noises or give gaps top or bottom.
How to avoid: Use a level to check the vertical and horizontal alignment before starting door installation. Mend distortion or breakage in the frame and then fasten the door in place. The frame should be strong and firmly mounted to the wall.
Mistake 3: Wrong Gap Tolerances
Another common error in door installation is not leaving the right amount of clearance between the door and the floor or frame. In case the gap is short, the door will scrape the ground.
How to avoid: Use spacers (cardboard or coin) while marking and fitting. Account for monsoon expansion when fitting during dry season.
Mistake 4: Incorrect Hinge Placement
It's not just about putting the hinges on – it's about putting them in the right place. Hinges that are too close to the top or bottom of the door, or spaced unevenly, can cause the door to sag or not close flush.
How to avoid: Follow standard hinge positions: 125-175mm from top, 250-275mm from bottom, center hinge equidistant.
Mistake 5: Not Sealing Door Edges
Once a door has been hung and looks good, many people forget the last and most important step which is sealing it properly. Unsealed edges can absorb moisture, warp, or discolour over time.
How to avoid: Apply primer and sealant to all six surfaces of the door, including top and bottom edges, before final installation.
Mistake 6: Over-tightening Screws
Over-tightening screws may seem harmless, but it can lead to stripped holes, which weakens the overall stability of the door. When securing screws, especially for hinges, strike plates, and latches, tighten them just enough to keep everything in place but not too much.
Mistake 7: Using Wrong Tools
Some doors are damaged during fitting simply because the wrong tools were used. Forcing screws, overtightening hinges, or drilling without a pilot hole can all split timber. Use sharp, quality tools and the correct screws for the job. Pre-drill pilot holes to avoid splitting, and always use a level to check your work as you go.
Mistake 8: Trimming Too Much
Some doors need trimming to fit. But trimming too much from one side, or cutting below the manufacturer's recommended allowance, can damage the structure of the door. Hollow core doors in particular can't be trimmed much before you hit open space inside.
Door Fitting Problems and Solutions
| Problem | Possible Causes | Solutions |
|---|---|---|
| Door sticks/binds when closing | Swollen wood, hinge misalignment, frame not plumb | Sand affected edges, adjust hinges, shim frame |
| Door doesn't close flush | Frame and door not in same plane, hinge mortise too deep | Adjust frame position, add cardboard behind hinge |
| Door swings open by itself | Door not plumb, floor not level | Bend hinge pin slightly, adjust frame |
| Excessive gaps | Wrong door size, wood shrinkage | Add weather stripping, reinstall with smaller door |
| Door sagging | Loose hinges, inadequate hinge size, stripped screw holes | Tighten screws, use longer screws, add hinge |
| Latch doesn't engage | Strike plate misaligned | Reposition strike plate, file opening larger |
| Squeaky hinges | Friction, lack of lubrication | Apply oil or grease to hinge pins |
| Door drags on floor | Door too long, hinges dropping | Plane bottom edge, tighten or replace hinges |
How to Fix Stripped Screw Holes
By simply adding a little wood glue to the tip and side, you can fix your stripped screw hole. Tap it into the hole and once it dries, cut it flush with the wood. You can do the same thing with a matchstick -- or if the hole is small enough, a toothpick. Just add wood glue, tap them in, trim them flush and you're good to go.
India-Specific Considerations for Door Fitting
Monsoon and Humidity Factors
India's monsoon season brings significant humidity changes that affect wooden doors. When fitting doors:
- Summer installation: Leave slightly larger gaps (4-5mm) as wood may expand during monsoons
- Monsoon installation: Standard gaps are acceptable as wood is already expanded
- Winter installation: Leave maximum recommended gaps as wood will expand later
- Coastal areas: Use marine-grade (BWP) plywood doors and stainless steel hinges
Regional Climate Variations
| Region | Climate Challenge | Fitting Recommendation |
|---|---|---|
| North India | Extreme temperature variations | Medium gaps, quality hinges to handle thermal movement |
| South India | High humidity year-round | BWR/BWP grade doors, rust-resistant hardware |
| Coastal areas | Salt air, maximum moisture | Marine-grade materials, SS hinges mandatory |
| Hill stations | Cold, moisture, occasional snow | Solid doors, excellent sealing, weather stripping |
Local Carpenter Practices
When working with local carpenters in India, ensure they:
- Use screws instead of nails for hinges
- Pre-drill pilot holes before driving screws
- Check frame level before starting
- Apply sealant to all door edges
- Use appropriate gap tolerances based on season of installation
Door Hardware Installation Details
Main Door Fittings Checklist
Aldrop is available in various sizes, e.g., 20cm, 25cm (8″, 10″) etc. Generally, brass aldrop with catches is fixed to the main door from outside with machine screws.
Generally, the tower bolt is fitted at the top corner of the door shutter, with 20 x 5 screws. Tower bolts are available in various sizes, e.g., 7.5cm, 10cm, 15cm (3″,4″,6″) etc. The tower bolt is fixed to the door shutter, while its catch is fitted to the door frame.
| Hardware Item | Typical Size (Main Door) | Position | Material Recommendation |
|---|---|---|---|
| Hinges | 100mm x 100mm (4") | 3 nos. at standard positions | Stainless steel or heavy brass |
| Main lock | Mortise lock 6 lever | 1050mm from floor | Brass body, SS hardware |
| Handle | 150-200mm (6-8") | With lock or above | Brass, SS, or zinc alloy |
| Aldrop | 200-250mm (8-10") | Opposite side of handle | Brass |
| Tower bolt (top) | 150mm (6") | Top corner, inside | SS or brass |
| Tower bolt (bottom) | 150mm (6") | Bottom corner, inside | SS or brass |
| Door viewer | 180° or 200° | Eye level (1500mm from floor) | Brass with glass lens |
| Safety chain | 150-200mm | 1200mm from floor | SS or heavy brass |
Quality Verification Checklist
After door installation, verify quality using this checklist:
Visual Checks
- Gaps are uniform all around (2-3mm sides and top)
- Door surface is flush with frame when closed
- Hinges sit flush in mortises (not protruding)
- No daylight visible through gaps (except deliberate bottom clearance)
- Hardware is properly aligned
Functional Tests
- Door opens smoothly to 90° without rubbing
- Door closes completely without assistance
- Latch engages strike plate properly
- Lock operates smoothly from both sides
- Door stays in any position when partially open (not swinging)
- No squeaks or unusual sounds during operation
Measurement Verification
- Handle height: 1000-1050mm from floor
- Hinge positions match standards
- Gap tolerances within acceptable range
- Door is plumb when closed
Care and Maintenance After Installation
First Month After Installation
- Check and tighten all screws after 2-3 weeks
- Monitor for any swelling or shrinkage
- Apply final coat of paint/polish if not done
- Lubricate hinges if any squeaking develops
Regular Maintenance
- Monthly: Check hinge tightness, clean hardware
- Quarterly: Lubricate hinges and lock mechanism
- Annually: Check for termite damage, repaint if needed
- Pre-monsoon: Verify gaps, apply wood sealant to edges
Addressing Seasonal Changes
As per duroboil.com's research, wooden doors in India typically experience 1-2mm expansion during monsoons. If your door starts sticking during monsoons:
- Do not immediately plane the edges
- Wait for dry season to see if problem resolves
- If persistent, lightly sand only the affected edge
- Reseal the sanded area immediately
Frequently Asked Questions
What is the correct gap between door and frame?
A correctly hung door, or pair of doors, should have parallel gaps all around of 3mm. For Indian conditions, duroboil.com recommends 2-3mm gaps on sides and top, with 8-12mm clearance at the bottom. During dry season installation, slightly larger gaps (4-5mm) accommodate monsoon expansion. These gaps ensure smooth operation while preventing drafts and insect entry.
How many hinges should a door have?
Generally speaking, you want to install one hinge for around every 30" of door height. Doors up to 60" tall will need two hinges while those between 60" and 90" will require three hinges. For standard 7-foot Indian doors, three hinges are recommended. Light hollow-core doors may use two hinges, but three hinges provide better weight distribution and prevent sagging over time.
Where should door hinges be positioned?
Top Hinge Placement: Place the top hinge 5 to 7 inches from the top edge of the door. Bottom Hinge Placement: The bottom hinge should be placed 10 to 11 inches from the bottom of the door. Middle Hinge Placement: If a third hinge is required, it should be installed equidistant between the top and bottom hinges. In metric terms, this translates to approximately 125-175mm from top and 250-275mm from bottom.
What is the standard door handle height in India?
Door handle height should be 1050 mm (3.5 ft) from finished floor level. This height is comfortable for most adults and meets accessibility standards. Locks are typically installed at the same height, with deadbolts positioned 150-300mm above the main handle.
Why does my door stick during monsoons?
Wooden doors absorb moisture from humid air during monsoons, causing them to expand. This is normal behavior. If the installation gaps were adequate, the door should still function, though slightly tighter. If the door sticks badly, the original gaps may have been too tight. Avoid planing during monsoons—wait for dry season to see if the problem resolves. You can use matchsticks or coin spacers to help with this while marking out the hinges. If you're fitting in winter, the door may expand in summer, so be especially cautious about tight gaps.
What size hinges should I use for my door?
The size of the hinge is determined by the thickness and weight of the door. For standard interior doors, 3.5-inch hinges are usually sufficient, while heavier exterior doors will require 4-inch or larger hinges. For main entrance doors in India (32-35mm thick), use 100mm (4-inch) hinges. For interior flush doors, 87mm (3.5-inch) hinges are adequate.
How do I fix a sagging door?
The causes of sticky doors may be as simple as a dirty hinge or as complicated as a foundation issue. Generally, the cause is one of three things: The hinges are loose or dirty. Humidity has made the door swell, preventing it from fitting in the frame properly. First, tighten all hinge screws. If screws don't hold, use longer screws or repair stripped holes with wood filler or matchsticks. If sagging persists, add a third hinge between existing ones.
Should I seal all edges of the door before fitting?
Yes, absolutely. Once a door has been hung and looks good, many people forget the last and most important step which is sealing it properly. Unsealed edges can absorb moisture, warp, or discolour over time. Seal all edges of the door, including the top and bottom, with a suitable wood finish, primer, paint, or varnish. This is especially critical in India's humid climate.
Can I fit a door myself or should I hire a carpenter?
While door fitting can be a DIY project, it requires proper tools, patience, and attention to detail. Many people think that door installation is an easy DIY project, but it can quickly become overwhelming without the right tools and experience. Attempting complex installations without help can lead to lasting issues. Don't hesitate to consult a professional for help, especially with heavy doors, exterior doors, or when fitting a door into a custom frame.
What should I check before paying the carpenter?
Before final payment, verify: uniform gaps all around, smooth operation without sticking, door stays in position when partially open, all hardware functions correctly, hinges are flush and secure, and door closes completely against the stop. Ask questions before they start. Have they measured properly? Are they using three hinges? Do they plan to seal the edges? Once the job is finished, check the gaps, swing, latch, and finish.
Disclaimer: This content is provided for general informational purposes based on industry practices and publicly available information. Product specifications, standards, prices, and availability may vary by manufacturer, region, and time. Readers should independently verify details with manufacturers, dealers, or qualified professionals before making purchase or construction decisions.
Want Plywood Suggestions?
Share a few details and a Duro BOIL specialist will suggest suitable brands and connect you to responsive dealers.